Stainless Steel Cladding Installation Guide

Installing stainless steel cladding sheets is a straightforward process when the correct preparation, tools, and materials are used. Whether you're fitting out a commercial kitchen, upgrading a workspace, or completing a DIY project, stainless steel wall cladding provides a durable, hygienic, and professional finish.

This step-by-step guide will walk you through the installation process, from surface preparation and cutting to fixing and finishing. With the right approach, you can achieve a clean, long-lasting result that performs well in both domestic and commercial environments.

DIY Stainless Steel Cladding Install Steps

1

Wall Preparation

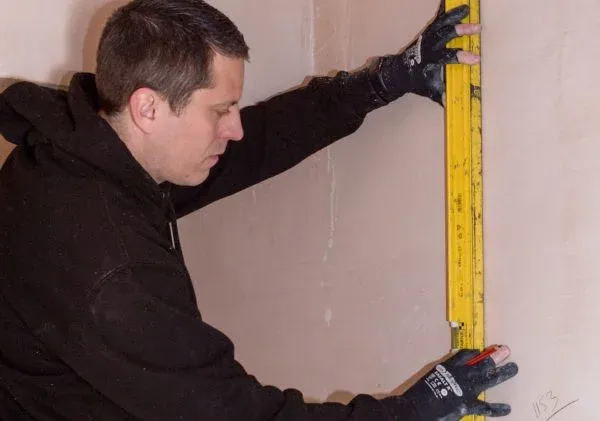
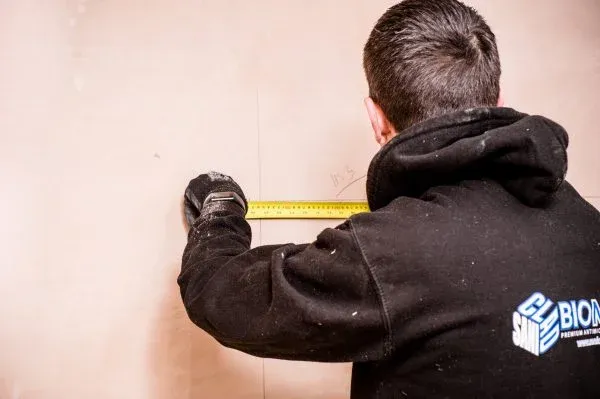
Make sure the wall is dry, clean and grease-free before you begin. Remove wallpaper, loose paint and any contaminants. Check the surface is flat and even, then fill low spots and flatten high areas to create a solid bonding base.
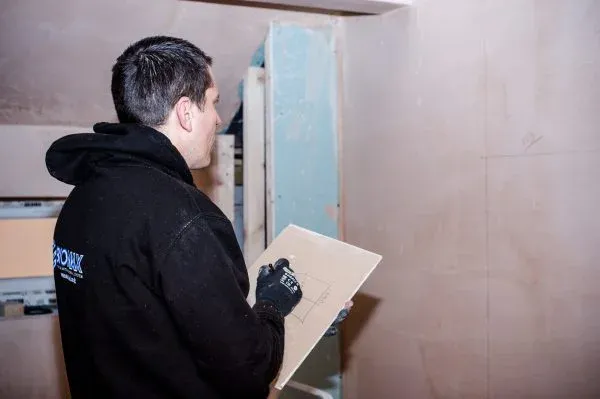
Checklist

CHECKLIST

Dry substrate, clean surface, flat finish and good key for adhesive.

2

Concrete Block & Brick

Level blockwork and brickwork using plaster or suitable backing compounds. Stainless steel sheets require a smooth surface for full contact—textured walls can lead to voids behind the sheet. For best results, ensure a flat, even finish before fixing.

Concrete Block & Brick

TIP

Smoother walls = stronger bond and better sheet contact.

3

Special Conditions & High Humidity

Ensure walls are fully dry before installation. In areas prone to moisture (e.g. kitchens, basements), use battens or mechanical fixings alongside adhesive to prevent moisture affecting the bond.

Special Conditions & High Humidity

WHEN TO FIX

Use battens + fixings where moisture risk could affect adhesion.

4

Painted Surfaces

Remove any loose or flaking paint before applying adhesive. Adhesive bonds only to the paint layer, so ensure it is sound and well adhered. For high-traffic or critical areas, combine adhesive with mechanical fixings.

Painted Surfaces

KEY POINT

If the paint fails, the sheet bond fails—prepare properly.

5

Uneven Surfaces

Installing over uneven walls can reduce adhesion and create voids behind the steel sheets. While this won’t always compromise the system, levelling first improves finish quality and long-term performance.

Uneven Surfaces

GOOD PRACTICE

Level where possible to reduce voids and improve contact.

6

High/Low Temperature Conditions

Allow for expansion and contraction. Stainless steel will move with temperature changes, so follow guidance carefully and allow appropriate expansion gaps during installation.

High/Low Temperature Conditions

REMEMBER

Temperature affects movement—leave the correct expansion gap.

7

Applying Adhesive

Apply adhesive exactly as recommended. Use consistent beads or trowel coverage depending on adhesive type. Ensure full perimeter coverage to maximise bonding and reduce drumming.

Applying Adhesive

AVOID

Over/under-applying adhesive—keep coverage consistent.

8

Fitting Wall Panels

Start in a corner using a suitable trim or edge profile. Apply adhesive, position the sheet, and press firmly into place. Use a roller to remove air pockets and ensure full contact. Leave a small expansion gap (typically 2–3mm) between sheets and trims.

If mechanical fixings are required, secure sheets as you go to keep them aligned and flat.

Fitting Wall Panels

ALIGN + ROLL

Use a level, leave a 2–3mm gap, and roll to remove air.

Professional Cladding Installations

UK Mainland Delivery

Supply Only

Next Day Delivery Available.
FREE Delivery (orders over £2000)

Cladding Installation 

Supply & Install

We offer a complete Design & Installation Service Across the U.K.

CLICK & COLLECT
  • Stainless Steel Cladding
  • Unit 2 Grisedale Road
  • Wirral
  • CH62 3QA